Difference between revisions of "ESXI Projekt"
From Teknologisk videncenter
(→Opgradering fra ESXi 4.1 til 5.1) |
(→Opgradering fra ESXi 4.1 til 5.1) |
||
| Line 45: | Line 45: | ||
Step 1: | Step 1: | ||
| − | [[File: | + | [[File:Example.jpg]] |
Step 2: | Step 2: | ||
| − | [[File: | + | [[File:Example.jpg]] |
Step 3: | Step 3: | ||
| − | [[File: | + | [[File:Example.jpg]] |
Step 4: | Step 4: | ||
| − | [[File: | + | [[File:Example.jpg]] |
Step 5: | Step 5: | ||
| − | [[File: | + | [[File:Example.jpg]] |
Step 6: | Step 6: | ||
| − | [[File: | + | [[File:Example.jpg]] |
Step 7: | Step 7: | ||
| − | [[File: | + | [[File:Example.jpg]] |
Step 8: | Step 8: | ||
| − | [[File: | + | [[File:Example.jpg]] |
Step 9: | Step 9: | ||
| − | [[File: | + | [[File:Example.jpg]] |
Step 10: | Step 10: | ||
| − | [[File: | + | [[File:Example.jpg]] |
Step 11: | Step 11: | ||
| − | [[File: | + | [[File:Example.jpg]] |
Revision as of 09:56, 2 April 2013
Introduktion
Vi har fået til opgave at installere Esxi 5.1 på 16 stk. Lenovo Thinkcentre M72e PC´er. Vi skulle også være i stand til at tage et Image af en computer, det har vi gjort ved at kører en ubuntu server op med Fog-server funktionen, som også kører et NFS share som indeholder operativ systemerne Windows 7 og Windows 8.
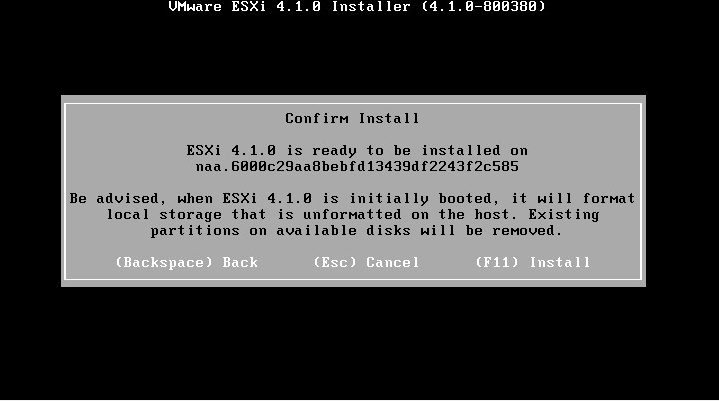
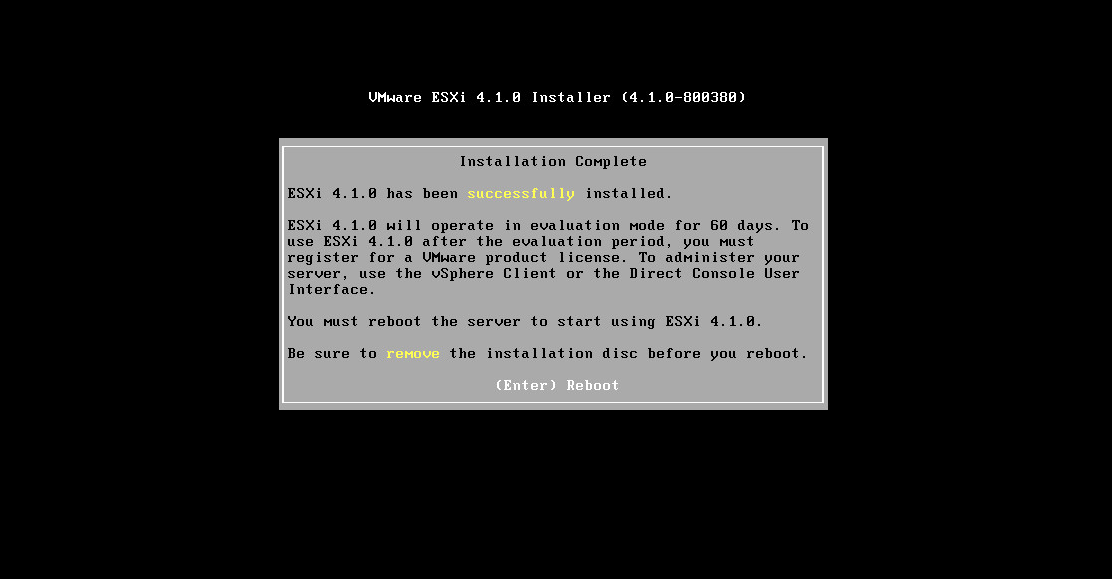
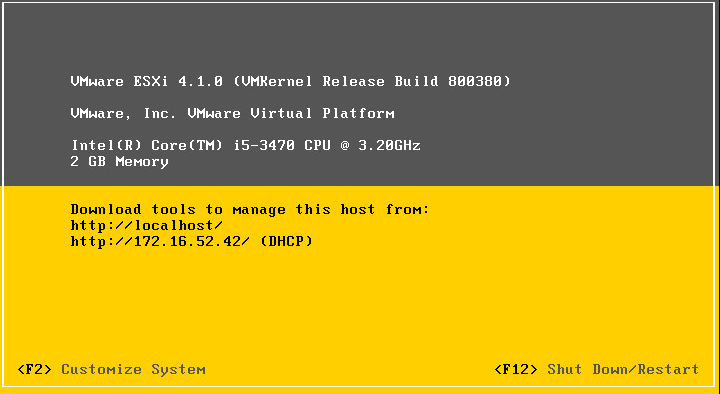
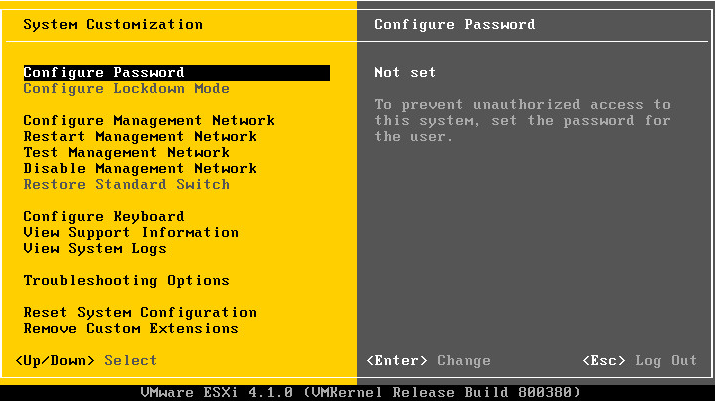
Installation af Esxi serverne
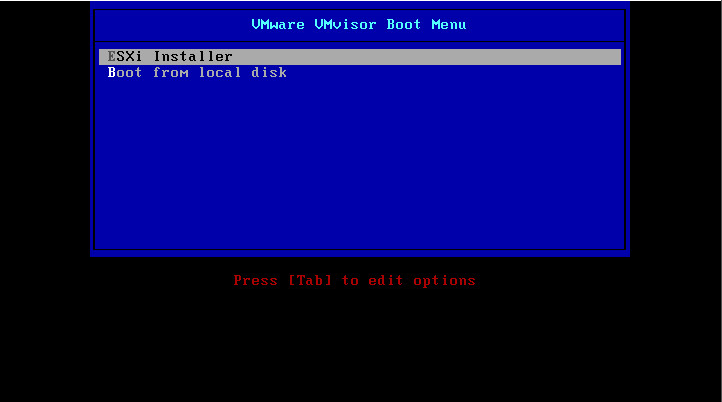
Step 1: Boot fra CD
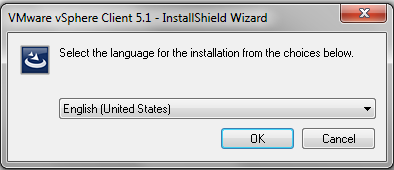
Step 2:
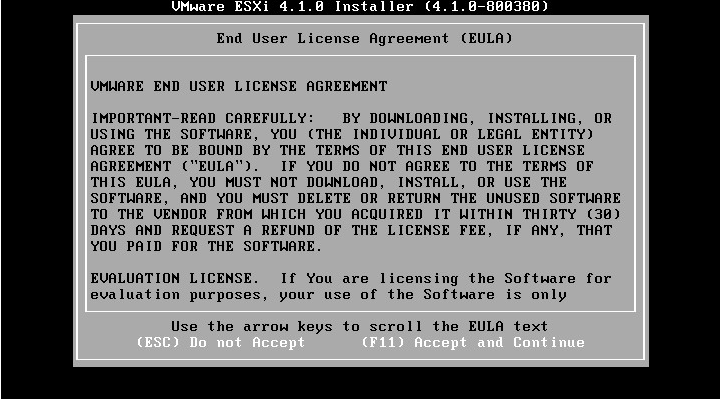
Step 3:
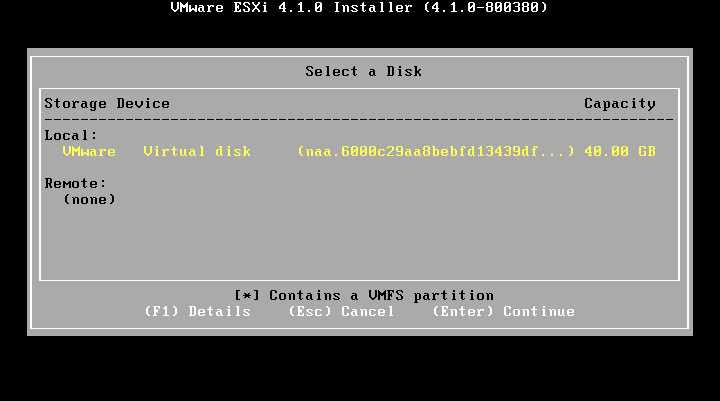
Step 4:
Step 5:
Step 6:
Step 7:
Step 8:
Step 9:
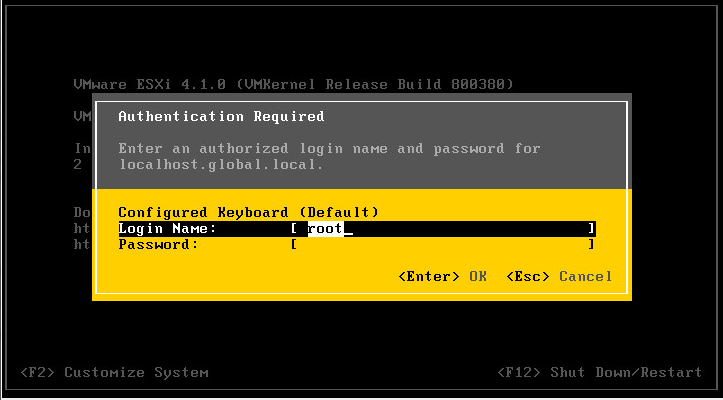
Opgradering fra ESXi 4.1 til 5.1
Step 1:
Step 2:
Step 3:
Step 4:
Step 5:
Step 6:
Step 7:
Step 8:
Step 9:
Step 10:
Step 11:
