Difference between revisions of "ESXI Projekt"
(→Hvordan du bruger Vsphere) |
|||
| Line 124: | Line 124: | ||
=Hvordan du bruger Vsphere= | =Hvordan du bruger Vsphere= | ||
| + | |||
| + | Step 1: | ||
| + | |||
| + | [[File:01.PNG]] | ||
| + | |||
| + | Step 2: | ||
| + | |||
| + | [[File:02.png]] | ||
| + | |||
| + | Step 3: | ||
| + | |||
| + | [[File:03.png]] | ||
| + | |||
| + | Step 4: | ||
| + | |||
| + | [[File:04.png]] | ||
| + | |||
| + | Step 5: | ||
| + | |||
| + | [[File:05.png]] | ||
| + | |||
| + | Step 6: | ||
| + | |||
| + | [[File:06.png]] | ||
| + | |||
| + | Step 7: | ||
| + | |||
| + | [[File:07.png]] | ||
| + | |||
| + | |||
| + | Step 8: | ||
| + | |||
| + | [[File:08.png]] | ||
| + | |||
| + | Step 9: | ||
| + | |||
| + | [[File:09.png]] | ||
| + | |||
| + | Step 10: | ||
| + | |||
| + | [[File:10.png]] | ||
| + | |||
| + | Step 11: | ||
| + | |||
| + | [[File:11.png]] | ||
| + | |||
| + | Step 12: | ||
| + | |||
| + | [[File:12.png]] | ||
| + | |||
| + | Step 13: | ||
| + | |||
| + | [[File:13.png]] | ||
| + | |||
| + | Step 14: | ||
| + | |||
| + | [[File:14.png]] | ||
| + | |||
| + | Step 15: | ||
| + | |||
| + | [[File:15.png]] | ||
| + | |||
| + | |||
| + | Step 16: | ||
| + | |||
| + | [[File:16.png]] | ||
| + | |||
| + | Step 17: | ||
| + | |||
| + | [[File:17.png]] | ||
| + | |||
| + | |||
| + | Step 18: | ||
| + | |||
| + | [[File:18.png]] | ||
| + | |||
| + | Step 19: | ||
| + | |||
| + | [[File:19.png]] | ||
| + | |||
| + | Step 20: | ||
| + | |||
| + | [[File:20.png]] | ||
| + | |||
| + | Step 21: | ||
| + | |||
| + | [[File:21.png]] | ||
| + | |||
| + | Step 22: | ||
| + | |||
| + | [[File:22.png]] | ||
| + | |||
| + | Step 23: | ||
| + | |||
| + | [[File:23.png]] | ||
| + | |||
| + | Step 24: | ||
| + | |||
| + | [[File:24.png]] | ||
| + | |||
| + | Step 25: | ||
| + | |||
| + | [[File:25.png]] | ||
| + | |||
| + | Step 26: | ||
| + | |||
| + | [[File:26.png]] | ||
| + | |||
| + | Step 27: | ||
| + | |||
| + | [[File:27.png]] | ||
| + | |||
| + | Step 28: | ||
| + | |||
| + | [[File:28.png]] | ||
| + | |||
| + | Step 29: | ||
| + | |||
| + | [[File:29.png]] | ||
| + | |||
| + | Step 30: | ||
| + | |||
| + | [[File:30.PNG]] | ||
| + | |||
| + | Step 31: | ||
| + | |||
| + | [[File:31.png]] | ||
| + | |||
| + | Step 32: | ||
| + | |||
| + | [[File:32.png]] | ||
| + | |||
| + | Step 33: | ||
| + | |||
| + | [[File:33.png]] | ||
| + | |||
| + | Step 34: | ||
| + | |||
| + | [[File:34.PNG]] | ||
| + | |||
| + | Step 35: | ||
| + | |||
| + | [[File:35.png]] | ||
=Installation af Ubuntu Server 12.04= | =Installation af Ubuntu Server 12.04= | ||
Revision as of 11:49, 2 April 2013
Contents
Introduktion
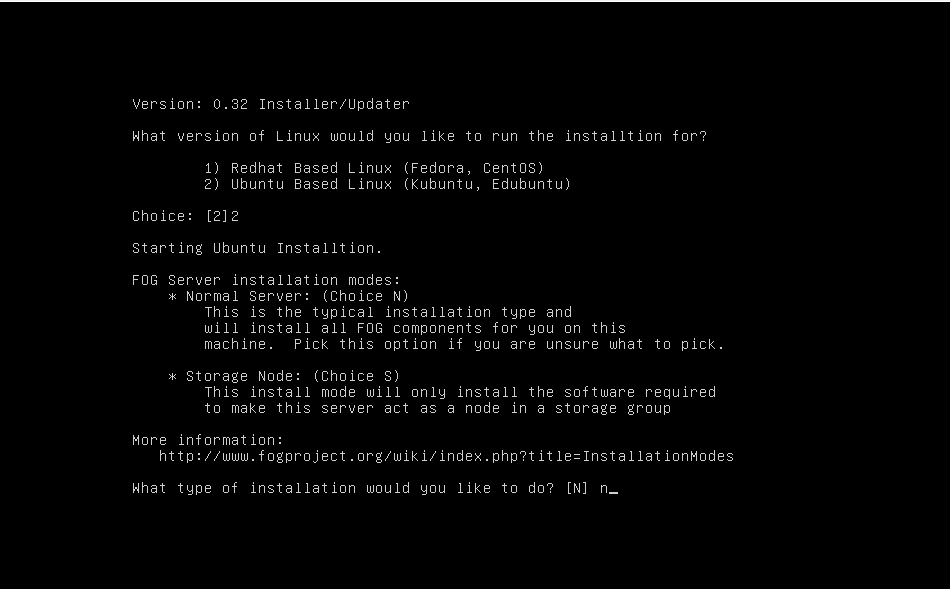
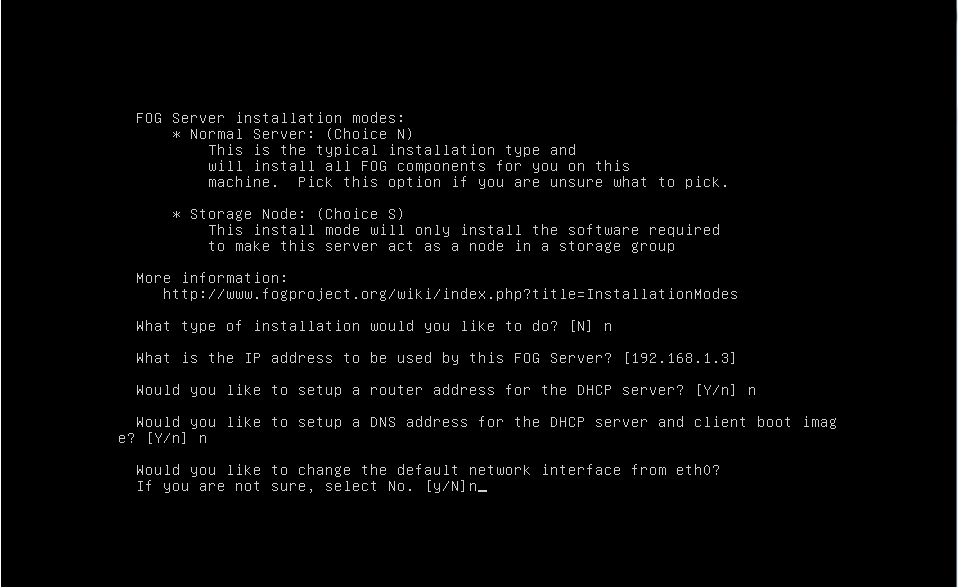
Vi har fået til opgave at installere Esxi 5.1 på 16 stk. Lenovo Thinkcentre M72e PC´er. Vi skulle også være i stand til at tage et Image af en computer, det har vi gjort ved at kører en ubuntu server op med Fog-server funktionen, som også kører et NFS share som indeholder operativ systemerne Windows 7 og Windows 8.
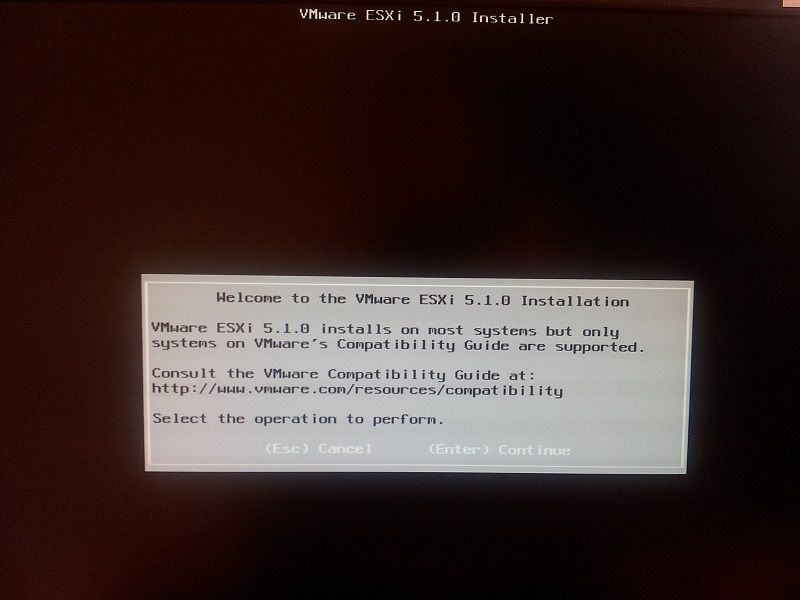
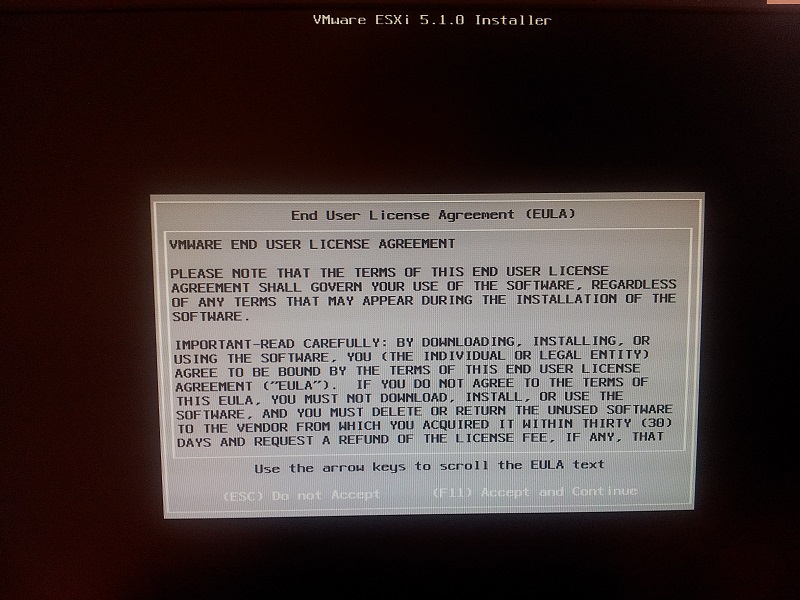
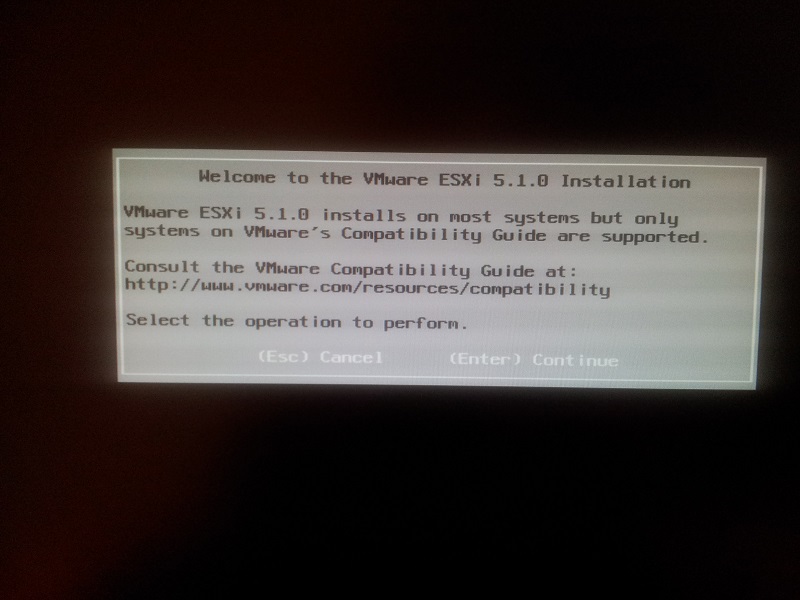
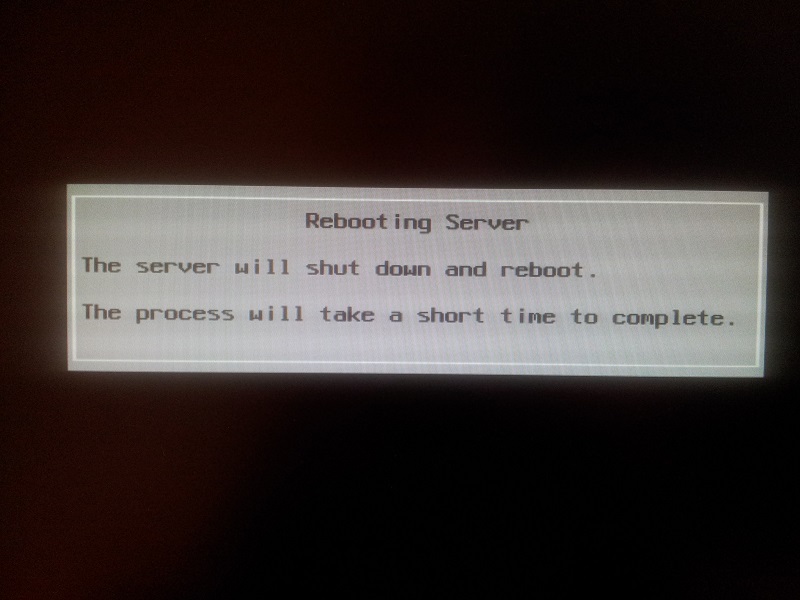
Installation af Esxi serverne
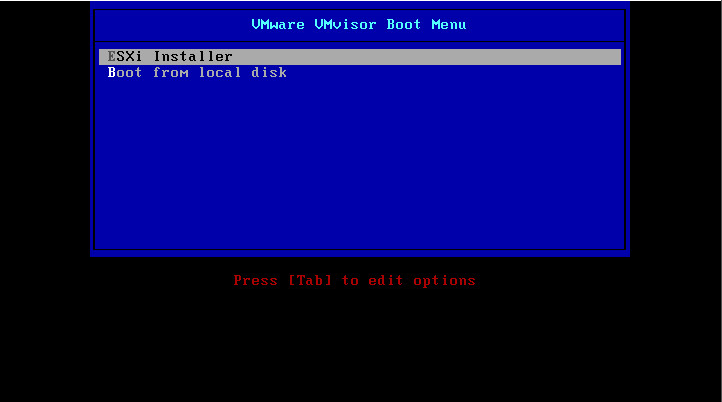
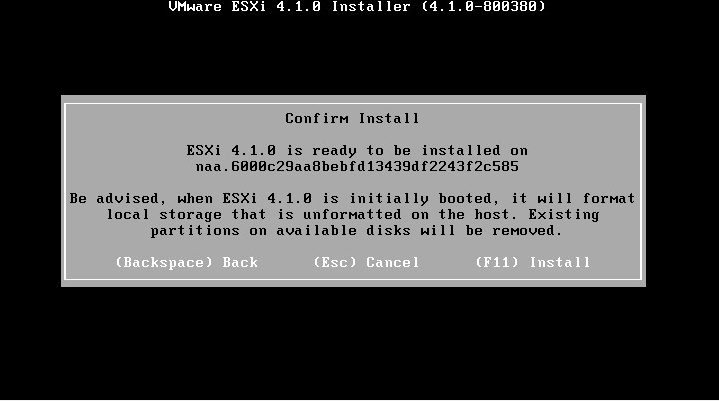
Step 1: Boot fra CD
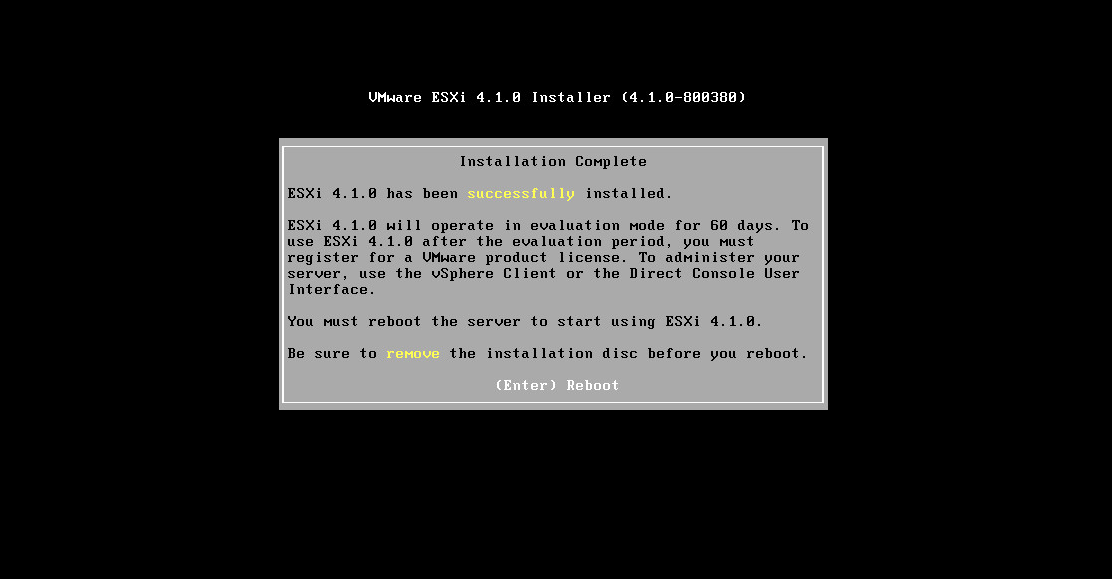
Step 2:
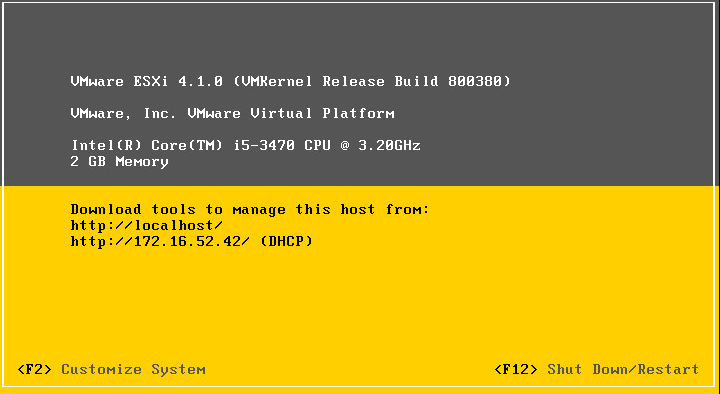
Step 3:
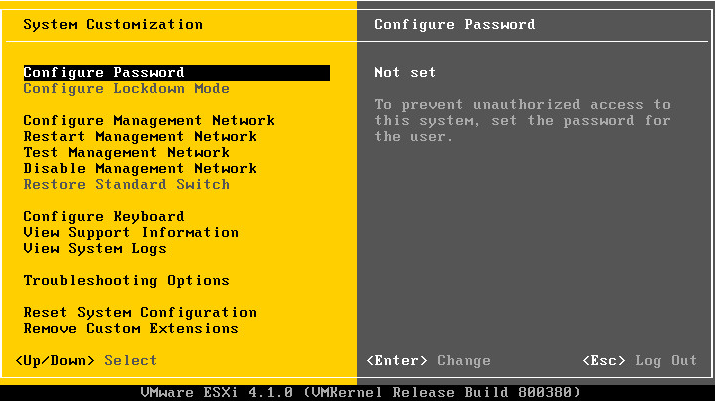
Step 4:
Step 5:
Step 6:
Step 7:
Step 8:
Step 9:
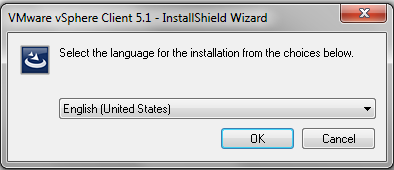
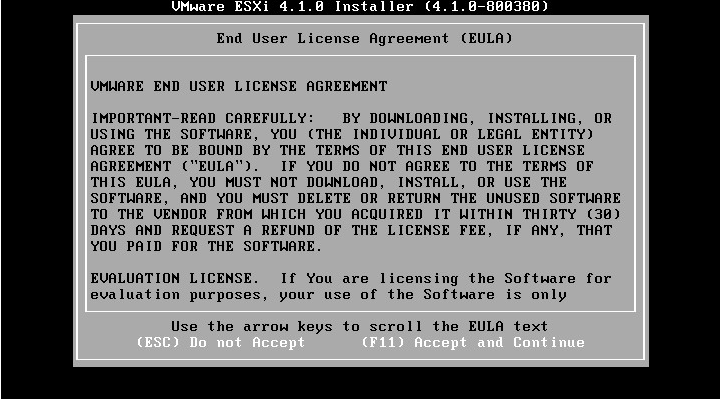
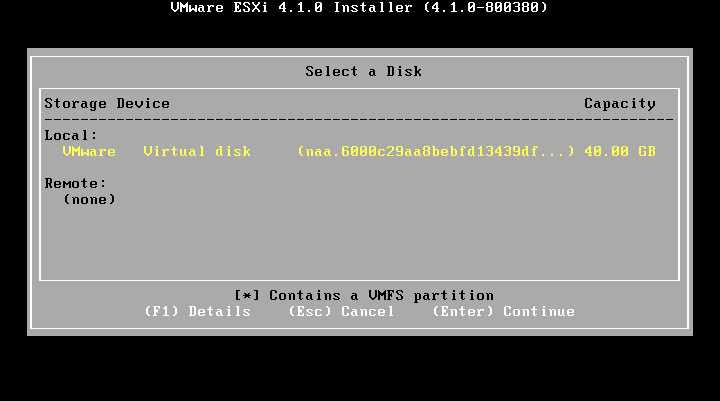
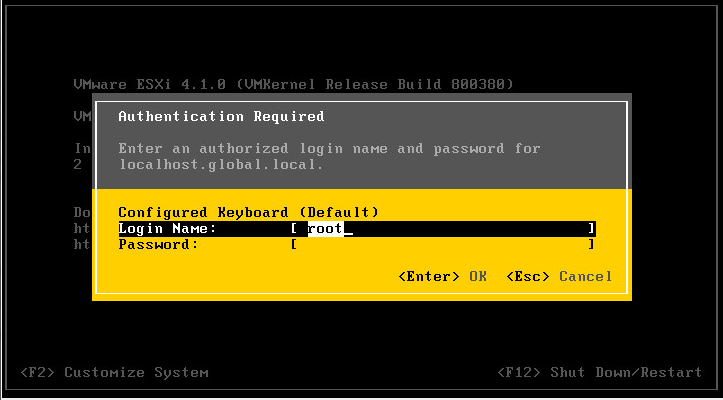
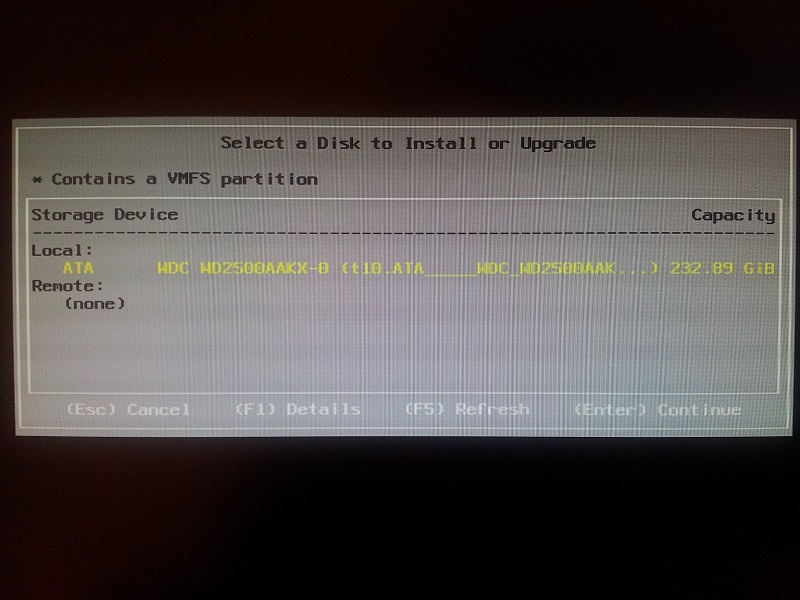
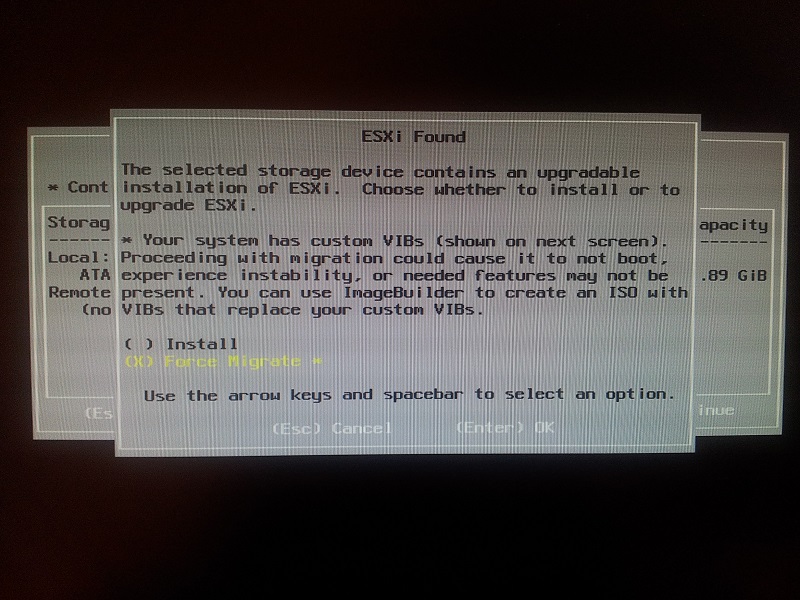
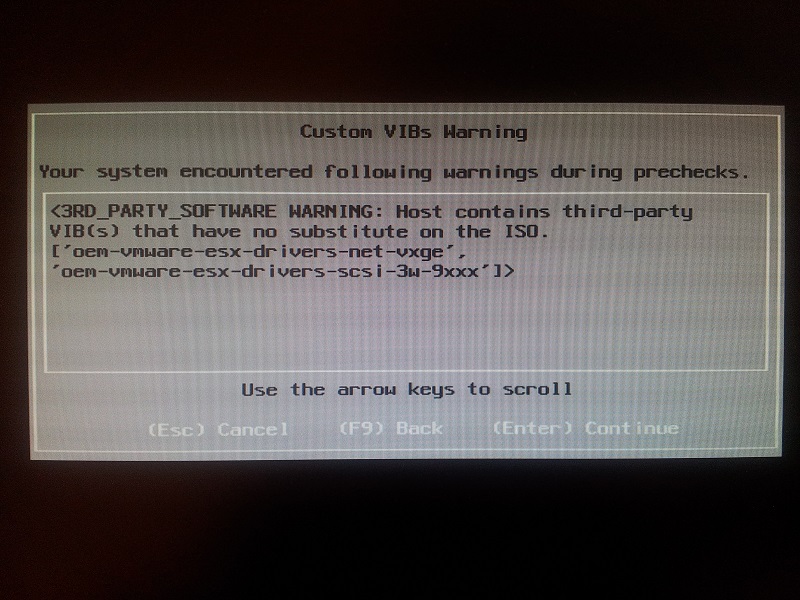
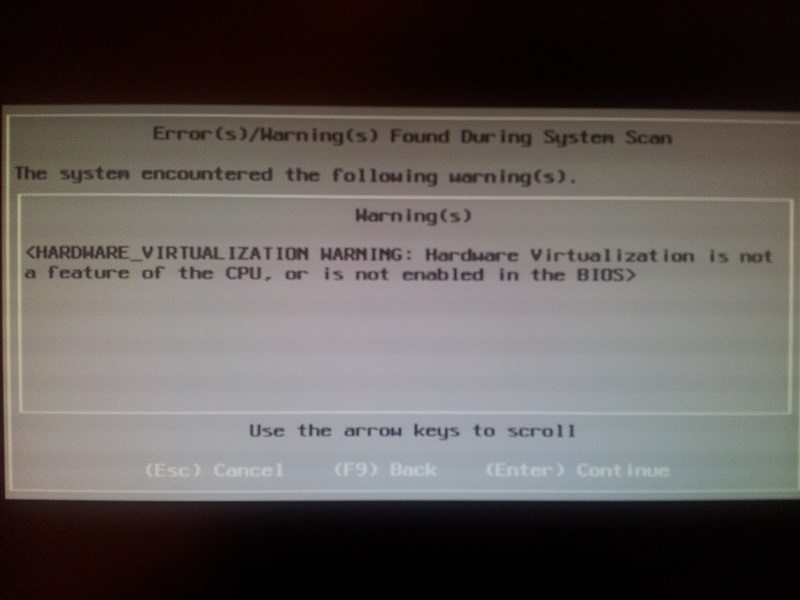
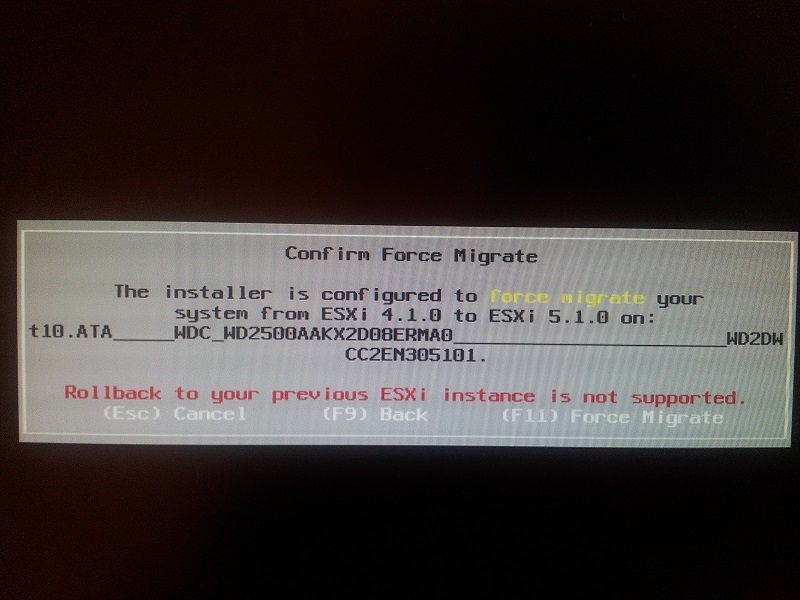
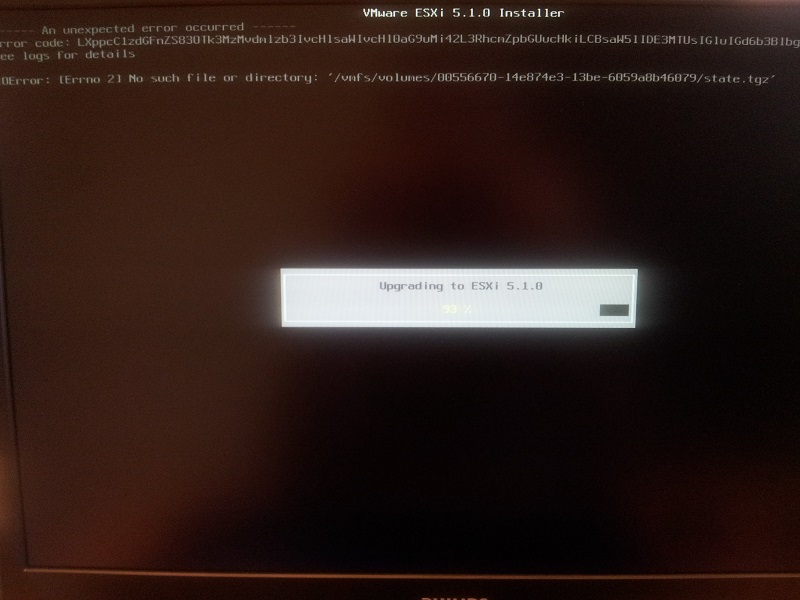
Opgradering fra ESXi 4.1 til 5.1
Step 1:
Step 2:
Step 3:
Step 4:
Step 5:
Step 6:
Step 7:
Step 8:
Step 9:
Step 10:
Step 11:
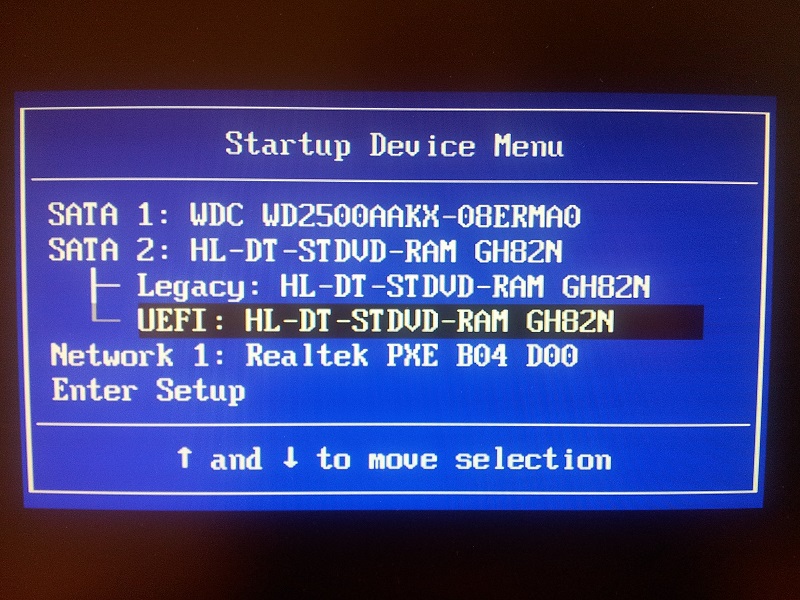
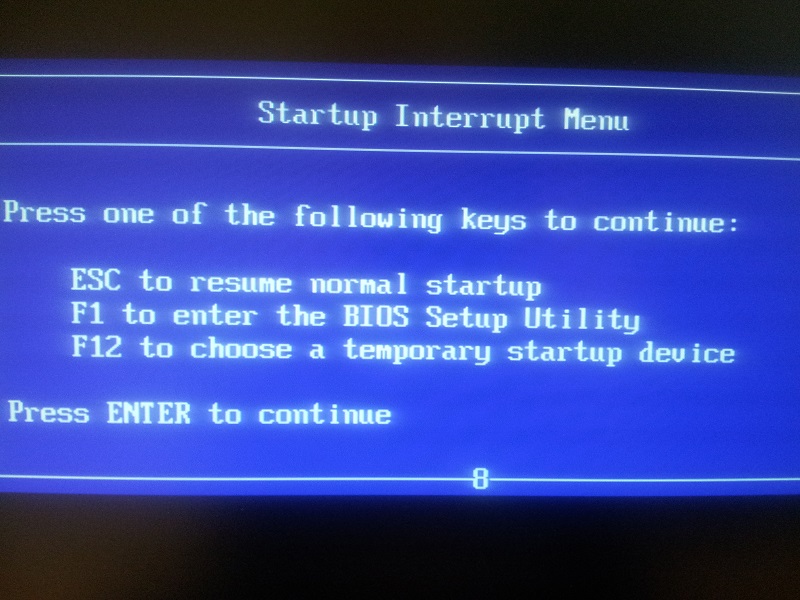
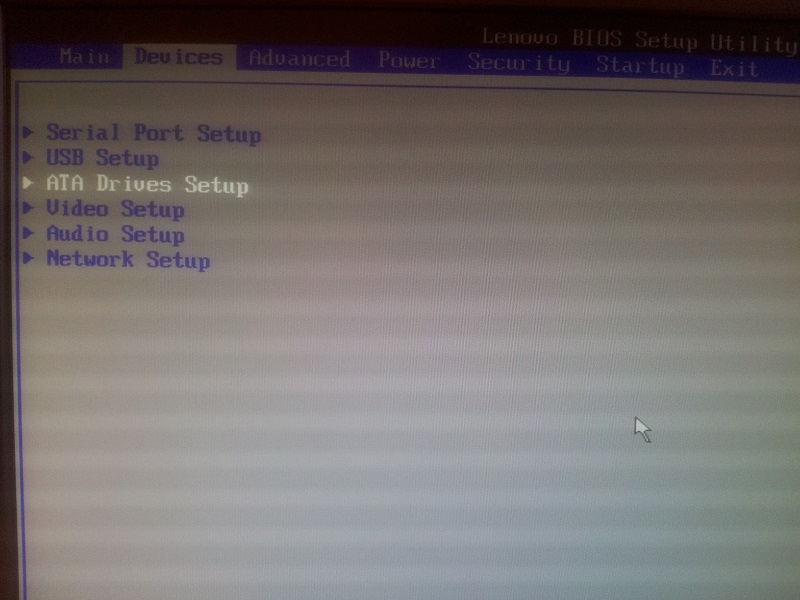
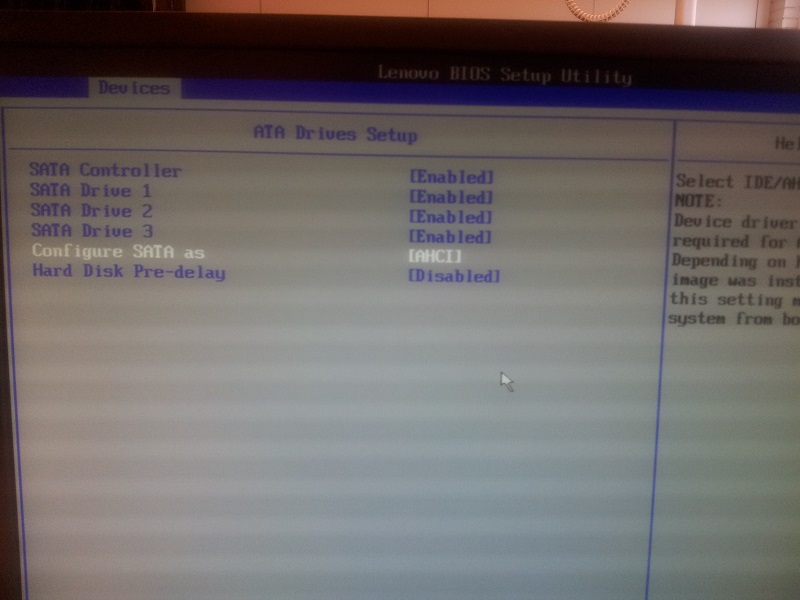
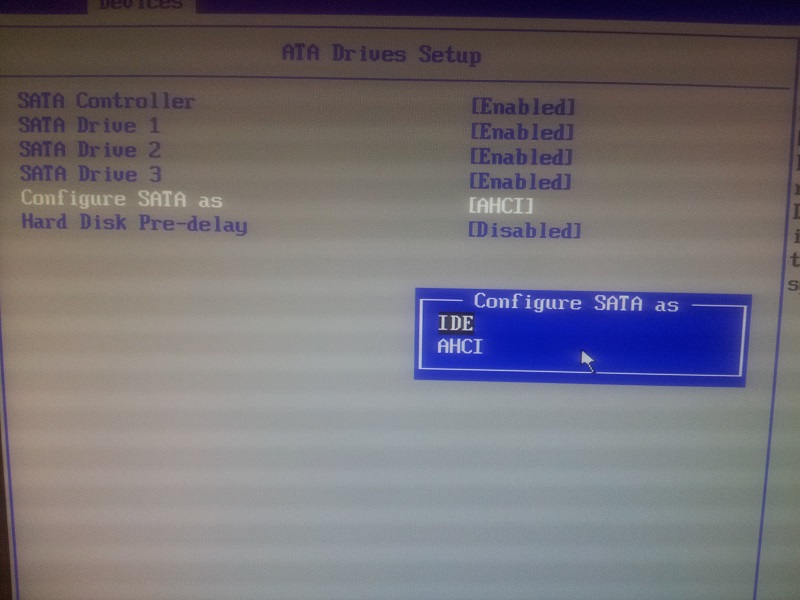
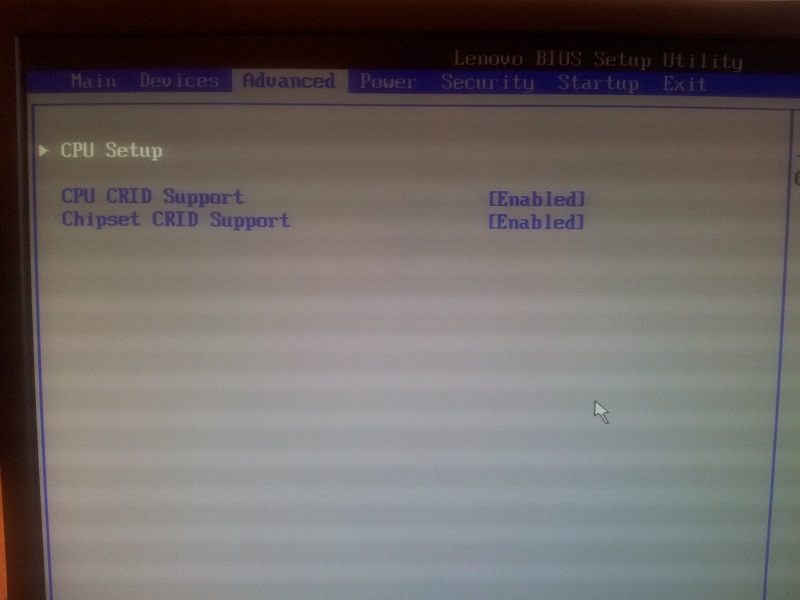
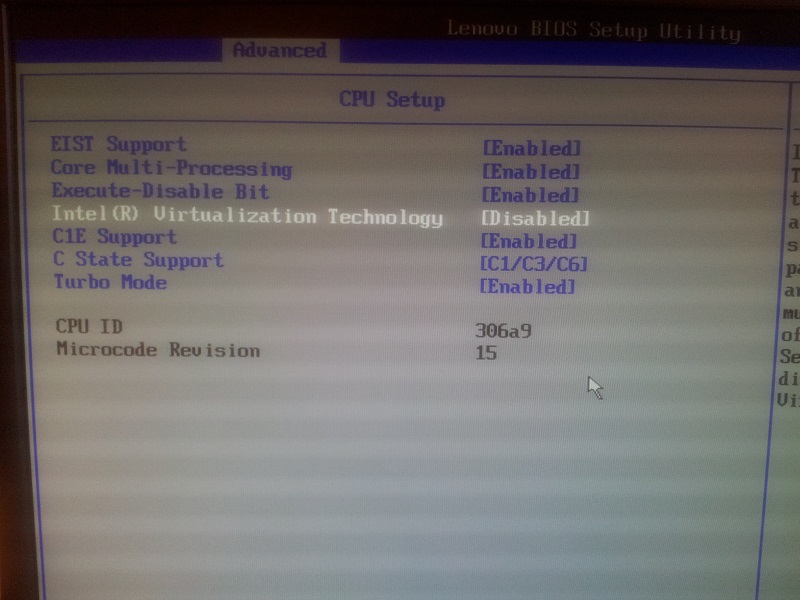
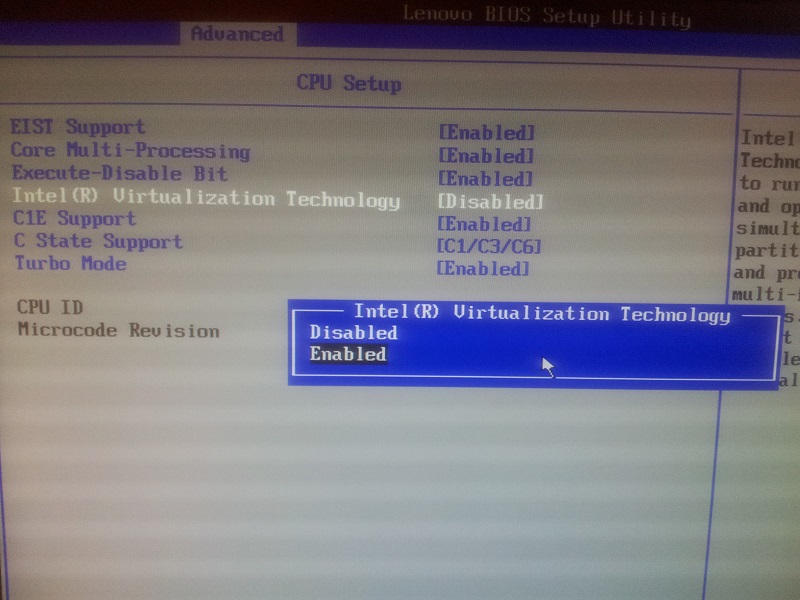
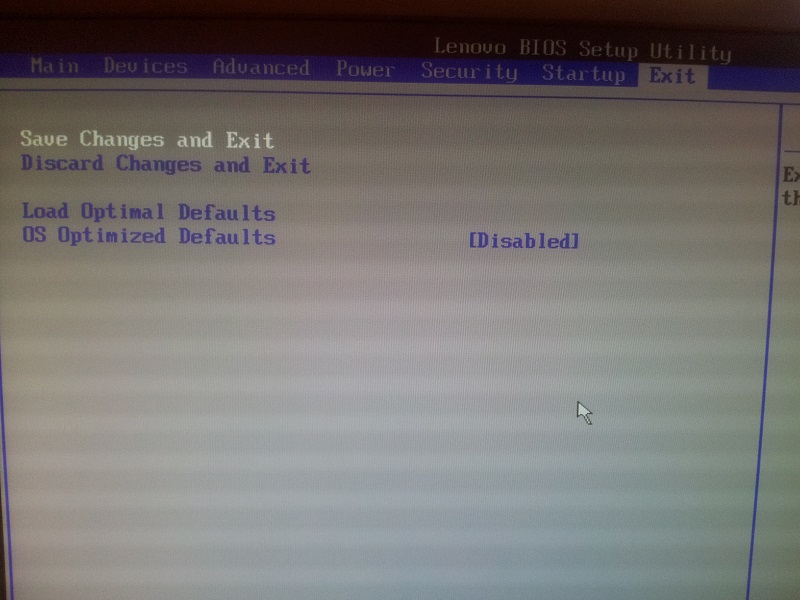
Bios opsætning
Step 1:
Step 2:
Step 3:
Step 4:
Step 5:
Step 6:
Step 7:
Step 8:
Hvordan du installer Vsphere
Hvordan du bruger Vsphere
Step 1:
Step 2:
Step 3:
Step 4:
Step 5:
Step 6:
Step 7:
Step 8:
Step 9:
Step 10:
Step 11:
Step 12:
Step 13:
Step 14:
Step 15:
Step 16:
Step 17:
Step 18:
Step 19:
Step 20:
Step 21:
Step 22:
Step 23:
Step 24:
Step 25:
Step 26:
Step 27:
Step 28:
Step 29:
Step 30:
Step 31:
Step 32:
Step 33:
Step 34:
Step 35:
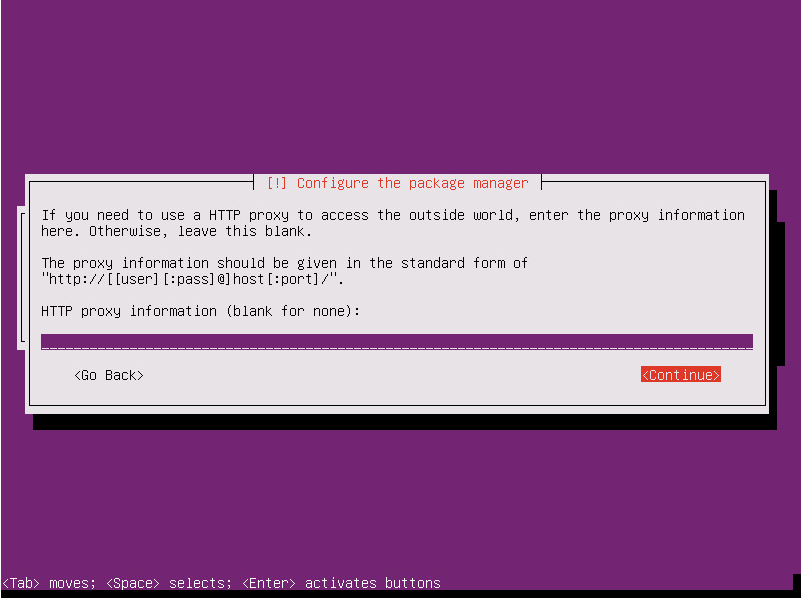
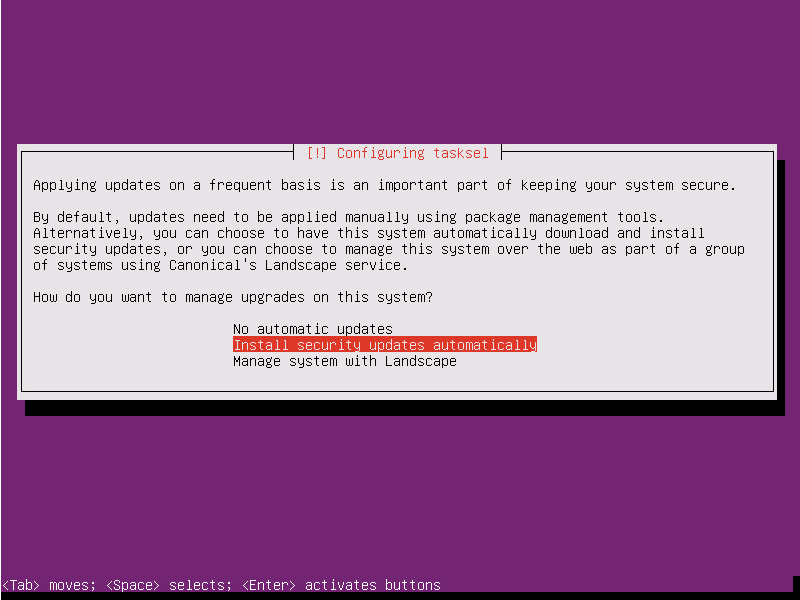
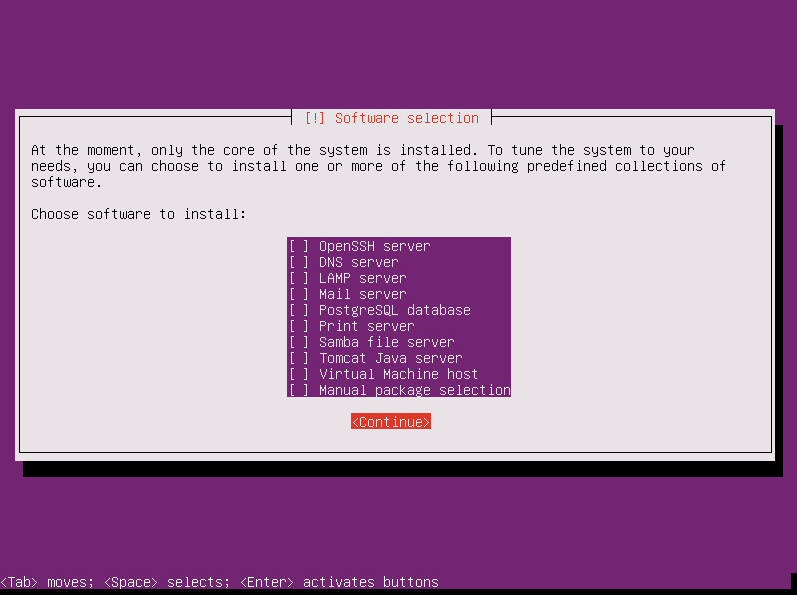
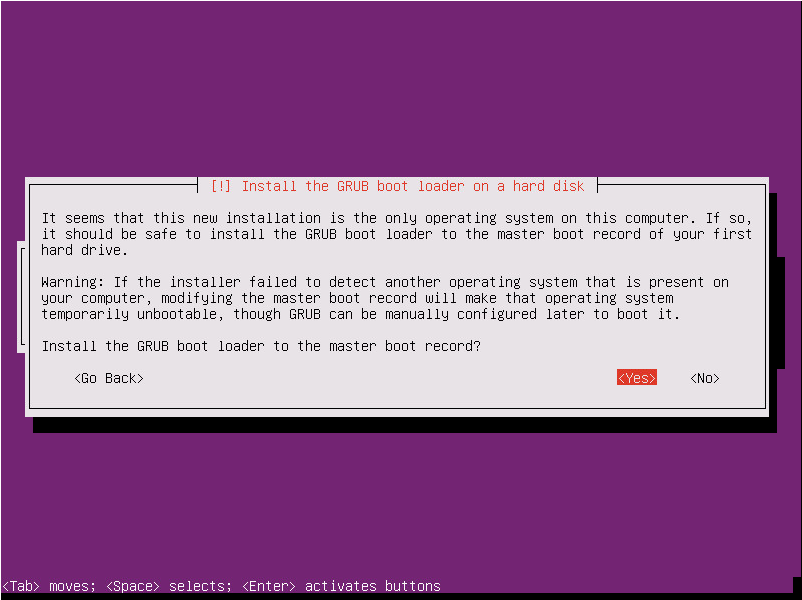
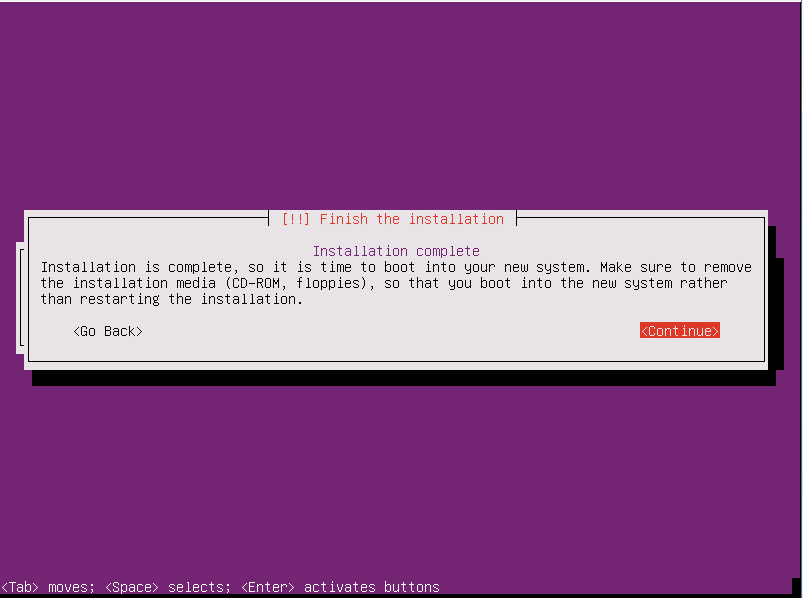
Installation af Ubuntu Server 12.04
Step 1.
Step 2.
Step 3.
Step 4.
Step 5.
Step 6.
Step 7.
Step 8.
Step 9.
Step 10.
Step 11.
Step 12.
Step 13.
Step 14
Step 15.
Step 16.
Step 17.
Step 18.
Step 19.
Step 20.
Step 21.
Step 22.
Step 23.
Step 24.
Step 25.
Step 26.
Step 27.
Step 28
Installation af Fog server på Ubuntu Server 12.04
Oprettelse af NFS Share
Forbind til NFS Share
Configuration
Step 2: Nu kommer der en menu ude til venstre her vælger du Storage
Step 3: Tryk på Add Storage
Step 4: Nu skal du markere Network File System
Step 5: Hvorefter du trykker på Next
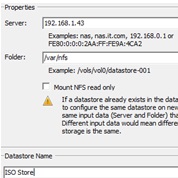
Step 6:
              Under Server indtaster du lp’en på fogserver  192.168.1.43, da det er der vores NFS Share er.
              Under Folder indtaster du NFS Path  /var/nfs
Under Datastore Name indtaster du navnet ISO Store
Step 7: Tryk på Finish
